


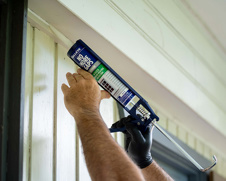
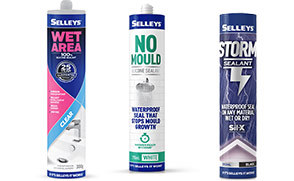


Selleys No Mould Silicone Sealant
Keep mould and mildew at bay with Selleys No Mould Silicone Sealant. This sealant provides a water-tight seal that resists mould and mildew growth, perfect for wet areas.
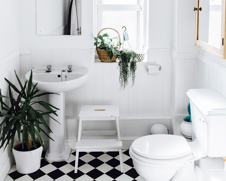
If taking a shower leaves your bathroom floor wetter than your shower recess, it's likely you have a leak!
Luckily there's an easy fix - and with Selleys No Mould, you can be back using your shower within an hour.

Keep mould and mildew at bay with Selleys No Mould Silicone Sealant. This sealant provides a water-tight seal that resists mould and mildew growth, perfect for wet areas.
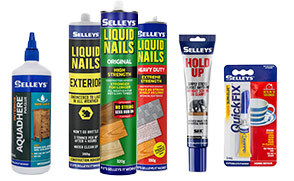
Keep your wet areas mould-free with Selleys Wet Area Silicone, a superior waterproof and mould resistant seal that will not shrink, crack or peel away.
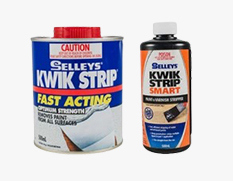
Selleys Sealant Remover takes the elbow grease out of removing old and unwanted sealants due to mould or cracking with a simple, single application (silicones, acrylics, SMP/hybrids or polyurethanes). Perfect for showers, baths, spas, sinks, vanities, splashbacks.
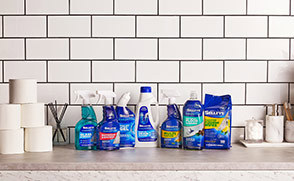
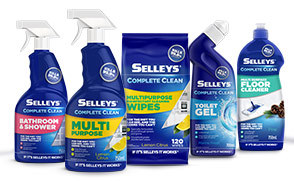
Selleys Rapid Mould Killer 750ml is a powerful solution for removing mould in larger areas. Keep your family safe and healthy with our fast and effective cleaner.
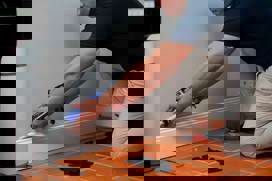
Achieve a flawless finish in your bathroom or kitchen with Selleys. Our guide will show you how to seal a sink and achieve a clean and watertight surface.
Want to give your kitchen and bathroom a facelift? Selleys has you covered. Learn how to transform your surfaces with our expert guide. Click to read more.
Remove old sealant with ease using Selleys. Our guide will show you how to remove old sealant and prepare surfaces for reapplication.


Share
Share this article with your friends