

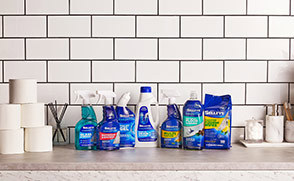


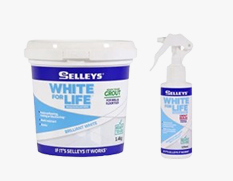


White for Life - Grout Sealer
Selleys White For Life Grout Sealer is designed to help protect grouts. It helps lock out water and oil-based stains, soil and mould when used as a system.
Tiling can be quite a costly exercise but with the Selleys White For Life range and our step by step guides, you can do it yourself for a result you will be proud of at a fraction of the cost.

Step 1: Add water to the bucket then slowly add the Selleys White for Life Powder Tile Adhesive powder while mixing with a paddle, ensuring there are no lumps (600mL to 2kg powder bag). Note that mixing with a paddle attached to a drill, makes mixing easier and faster. Allow mixture to stand for 5 minutes.
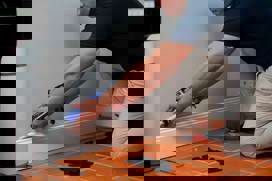
Step 2: Spread the adhesive evenly onto surface using a notched trowel, working on about one square metre at a time.
Step 3: Place and fix each tile in position before the adhesive forms a surface skin. Adjust and bed the tile by sliding it roughly perpendicular to the notch pattern to ensure full coverage on the back of the tile.
Note: some larger or deeply keyed tiles may also require buttering of the adhesive onto the back of the tile to ensure full coverage. Use spacers to ensure even grout joints.
Step 4: Check that the tiles are level and use a rubber mallet to tap and level them lightly if required.
Step 5: Remove excess adhesive from face of tiles and joints with a damp cloth or sponge, before adhesive sets (20 minutes).
Step 6: Once the tiles have been laid, they must not be disturbed and not be subjected to foot traffic for at least 24 hours.
Selleys White For Life Grout Sealer is designed to help protect grouts. It helps lock out water and oil-based stains, soil and mould when used as a system.
Keep your tiles looking like new with Selleys White For Life Tile and Grout Cleaner. This powerful cleaner removes dirt and stains from tiles and grout.
Make tiling a breeze with Selleys White For Life Ready-To-Use Tile Adhesive. This high grab wall and floor tile adhesive is perfect for small tiling jobs and repairs.
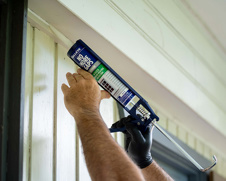
Learn how to seal your bathroom grout with Selleys. Protect your bathroom from moisture, stains, and discoloration with our easy guide.
Achieve a professional-looking finish with our step-by-step guide to grouting tiles. Learn how to prepare, apply and clean grout using Selleys products.
Discover step-by-step instructions for installing a bathroom vanity with Selleys. Get your bathroom renovation project started today.


Share
Share this article with your friends