


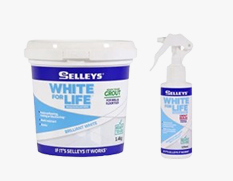


White for life - Ready to use Tile Adhesive
Make tiling a breeze with Selleys White For Life Ready-To-Use Tile Adhesive. This high grab wall and floor tile adhesive is perfect for small tiling jobs and repairs.
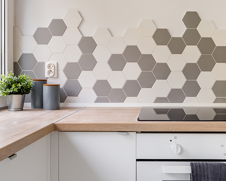
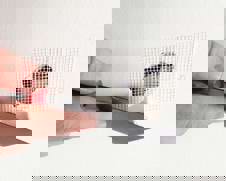
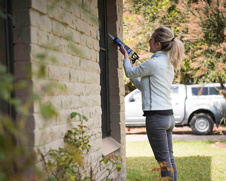
If you want to create a stylish splashback in your kitchen – tiles are an affordable DIY option that can add, colour, pattern or texture to a space.
Learn how to tile your kitchen splashback in 3 steps with the Selleys White For Life triple pack complete with tile adhesive, tile grout and tile sealant!
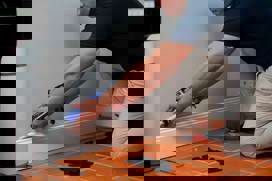
Ensure surfaces are clean and free from grease or loose particles. Any fresh paint, membranes/coatings, render or concrete, must be allowed sufficient time to cure before tiling is done.
Make tiling a breeze with Selleys White For Life Ready-To-Use Tile Adhesive. This high grab wall and floor tile adhesive is perfect for small tiling jobs and repairs.
Make grouting a breeze with Selleys White For Life Ready-To-Use Grout. This water-based, easy to use, brilliant white grout resists yellowing, staining or blackening.
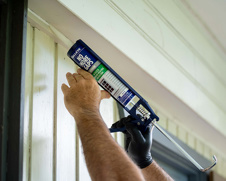
For a long-lasting seal that won't yellow, blacken, or over time, choose Selleys White For Life Silicone Sealant. This sealant is perfect for sealing around showers and sinks.
Make your own chopping board with Selleys. Our guide will show you how to create a custom board that's perfect for your kitchen.
Protect your kitchen from moisture and stains with Selleys. Our guide will show you how to seal your kitchen splashback quickly and easily.
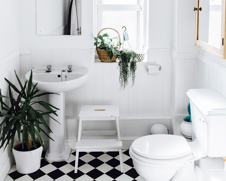
Achieve a flawless finish in your bathroom or kitchen with Selleys. Our guide will show you how to seal a sink and achieve a clean and watertight surface.
Want to give your kitchen and bathroom a facelift? Selleys has you covered. Learn how to transform your surfaces with our expert guide. Click to read more.


Share
Share this article with your friends