

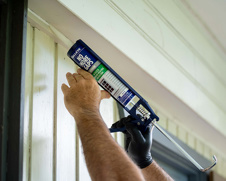
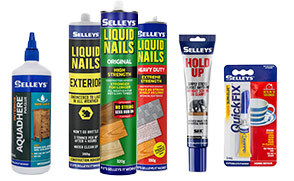


Selleys Power Grip
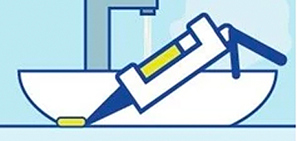
Looking for a strong and flexible adhesive for all your minor repairs? Selleys Power Grip is the answer. This non-drip formula is perfect for vertical applications and works on a variety of materials.
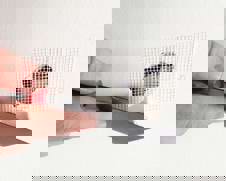
Learn how easy it is to create your own personalised toy book ends, perfect to add some fun and style to your kids bookshelves.
Get creative with their favourite characters - dolls, dinosaurs and more!
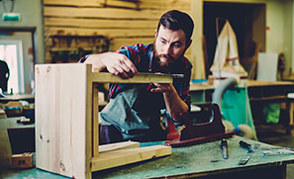
Prepare your work station by covering the area/table with a drop cloth. Sand and smooth down all 4 pieces of timber including all edges.
Stir the can of the wood stain. Dip a clean rag or brush into the can of stain and apply the stain to the timber pieces, following the grain. Stain all sides of each piece of timber. Allow to dry for 2 hours before applying another coat if you want a darker finish.
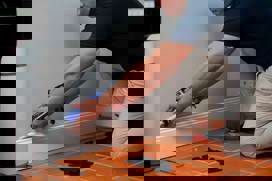
To help achieve a straight cut, apply masking tape around the belly (the middle). Then using a utility knife, cut along one edge of the tape. The toy is rubber so should be easy to cut in half.
If the toy has stuffing inside to give it weight, keep as much as you can inside each half so your bookend has weight to support books. You can add weight into the two halves if it was hollow to begin with. Ensure that the edge of the pieces are clean and clear of any materials.
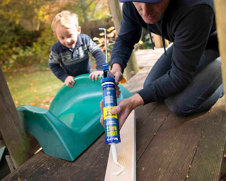
Once the timber pieces are dry, apply Selleys Power Grip along the grain edge of one of the timber pieces, then press onto the top short edge of another timber piece (as shown).
Use masking tape to secure the pieces and allow it to set and dry. Repeat with the remaining two timber pieces. Allow the pieces to set for at least 3 minutes before continuing with the next step.
Apply Selleys Power Grip along the edge of the toy and to its feet, then press onto the “L” piece that you just created. Lay the bookend with the toy facing up and allow it to completely dry (approx. 12 hours).
Repeat the above step to create the other half of the bookend.
Looking for a strong and flexible adhesive for all your minor repairs? Selleys Power Grip is the answer. This non-drip formula is perfect for vertical applications and works on a variety of materials.
Revive your old dining chairs with Selleys. Our step-by-step guide will show you how to restore your chairs to their former glory.
Make your own chopping board with Selleys. Our guide will show you how to create a custom board that's perfect for your kitchen.
Restore your timber furniture with Selleys. Our guide will show you how to fill dents and restore your furniture's appearance.


Share
Share this article with your friends