
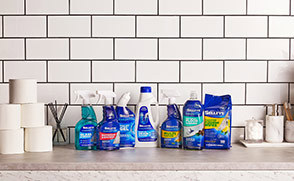

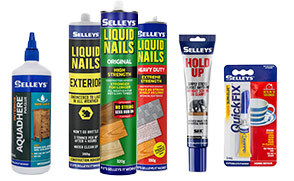


Aquadhere Exterior
Get a weatherproof adhesive for your outdoor woodworking projects with Selleys Aquadhere Exterior. Perfect for decks, fences, and more.
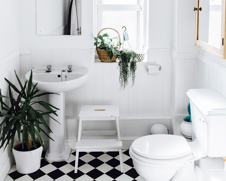
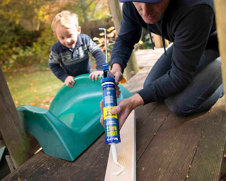
Learn how to make a bath caddy to perfectly fit your bath at home!
You will need minimal materials and Selleys Aquadhere Exterior means no need for any screws!
Tools and Materials
Measure and cut
Assemble your frame
Once dry, turn frame upside down and place slats on the base using your scrap timber for equal gaps.
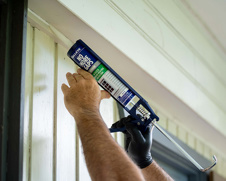
Apply Selleys Aquadhere Exterior to the first piece and clamp into place. Add in your scrap timber as a spacer for the gap, and add your second slat.
Apply adhesive to each side on both sides and tape into place to hold. Continue until all slats are in place [NOTE: The Slats should each be clamped as soon as they are glued otherwise they will star to dry too early. Using tape will not provide enough clamping force.]
Once all slats have been glued, lay a piece of timber on each side running along the length and clamp in 4 places to hold down all pieces flat. Please note: You may need to check your slat gaps if they have moved around at all.
Allow to dry for 24 hours. Maximum strength is usually achieved in 24hours by may take longer in cold or damp conditions or with dense timbers.
Create your device holder
Once dry apply adhesive to base of device holder and attach to the top of the bath caddy where you would like it to sit. Clamp or add weight to get maximum bond strength.
Finish with varnish of choice
Get a weatherproof adhesive for your outdoor woodworking projects with Selleys Aquadhere Exterior. Perfect for decks, fences, and more.
Get an interior adhesive for your woodworking projects with Selleys Aquadhere Interior. Perfect for furniture, cabinets, and more.
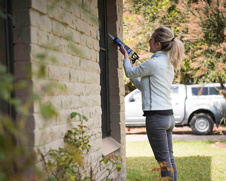
Make your front door stand out with Selleys. Our guide will show you how to add personalized details and make your front door more inviting.
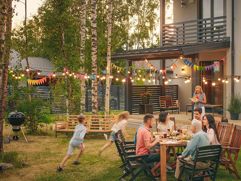
Create an outdoor oasis with a deck from Selleys. Our guide will show you how to build a custom deck that's perfect for your outdoor space.


Share
Share this article with your friends