
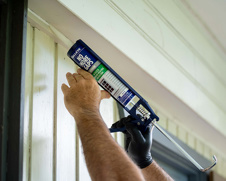


No More Gaps Exterior
Protect your exterior surfaces with Selleys No More Gaps Exterior from our flexible gap filler range. It's the ultimate solution for a professional finish.
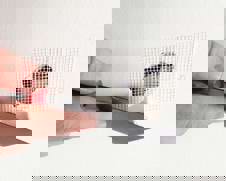
This project will be popular with the adults….and parents…well pretty much anyone who enjoys a drink or entertaining to honest!
Here is a guide to making your own bar cart at home.
First up let’s set out the overall size of our bar cart – 900 is good height. And 1600 is our length. Remember that you can make it any size that suits you.
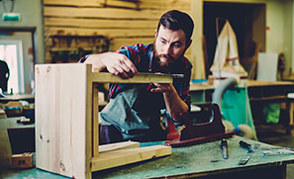
Make up 1 frame first. So cut your legs/posts into 2 pieces 900mm long. Then cut 2 rails 1600. To cut these ill be using my drop saw but you called also use a circular saw.
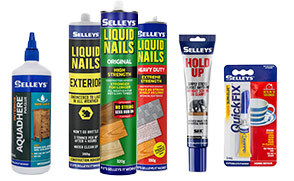
Fix these together we will be using batten screws and Selleys Aquadhere Exterior for extra strength. Make the Top rail flush with the top of the posts and the bottom rail 150mm up.
Mark the positions of the screws (2 at each join). Countersink with the 16mm spade bit. Then pre-drill with a 4.5mm drill bit. Apply the adhesive to the end grain of the rails and drive in batten screws. Any excess glue can be wiped off with a wet cloth and if you miss any if can easily be sanded once dry.
Now the first frame is done so lets make one more for the other side. Repeat steps 2,3 and 4.
Determine the internal width of your bar cart. You may want to make it the same size as your sink or Eski.
Cut 4 rails at your desired width and apply Selleys Aquadhere Exterior to the ends of your 4 rails and connect the 2 frames together fixing the top 2 rails flush with the top of the legs. And repeat the process for the bottom 2 legs.
Now you should have your frame complete.
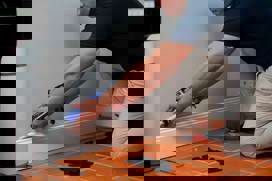
Now we are going to measure our overall width and cut some timber slats for the base of our cart, These will act as nice solid platform for storage. Screw timber slats down into the lower rails across the base of the drinks trolley
Repeat step 4 to the same and create some bench space either side of the sink/eski by screwing in place some more timber slats.
To make the bart cart easy to wheel around I’ve got these wheels and axel and all we need to do is screw in position in position at one end of the bar cart.
Next up lets cover up our batten screws using your 16mm dowel. Cut enough short pieces so that you can plug up the batten screws holes. They can sit slightly proud of the timber.
Apply Selleys Aqaudhere Exterior to the inside of the countersunk hole and insert the dowel plug. You’ll start to see some glue ooze out the sides. Then wipe the excess with a wet cloth. Once the glue is set we can then sand down the dowel so its flush.
We are almost there! Now just to work our way all over the bar cart and give it good sand up with Cabots removing any splinters or pencil marks. Once we done that we can dust it off and apply a varnish or oil. Job Done – Shall we have drink!
Protect your exterior surfaces with Selleys No More Gaps Exterior from our flexible gap filler range. It's the ultimate solution for a professional finish.
Trust Selleys for all your interior gap filling needs. Our No More Gaps Interior Multipurpose gap filler delivers a smooth finish with superior flexibility and low shrinkage.
Create an outdoor oasis with a deck from Selleys. Our guide will show you how to build a custom deck that's perfect for your outdoor space.
Get cozy in your outdoor space with a fire pit from Selleys. Our guide will show you how to build a custom fire pit that's perfect for entertaining.
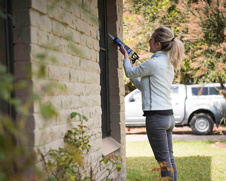
Fix cracks in your masonry walls with Selleys. Our guide will show you how to fill and repair cracks, so your walls look new again.
Protect your home from water damage with emergency roofing repairs from Selleys. Our guide will show you how to quickly fix your roof and prevent further damage.


Share
Share this article with your friends