
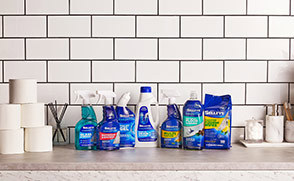
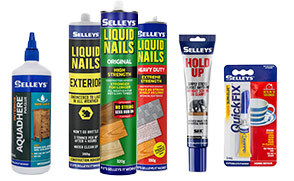


Aquadhere Interior
Get an interior adhesive for your woodworking projects with Selleys Aquadhere Interior. Perfect for furniture, cabinets, and more.
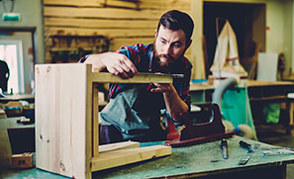
Storing your garden tools neatly can be tricky with their long awkward handles and no flat surfaces!
Here is a quick and simple DIY solution to get them off the floor and neatly stored against the wall - no power tools needed.
Materials
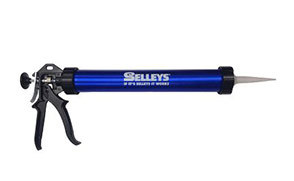
Tools
Measuring and Preparation:
Cutting the holders:
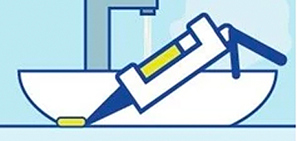
The Glue Up:
Fastening the tool racks to the wall
Get an interior adhesive for your woodworking projects with Selleys Aquadhere Interior. Perfect for furniture, cabinets, and more.
Get a quick fix for your minor repairs with Selleys Quick Fix 10 Second Supa Glue. This fast-drying formula sets in just 10 seconds, creating a strong and durable bond.
Make your front door stand out with Selleys. Our guide will show you how to add personalized details and make your front door more inviting.
Create an outdoor oasis with a deck from Selleys. Our guide will show you how to build a custom deck that's perfect for your outdoor space.


Share
Share this article with your friends