


Araldite 5 Minute
For heavy-duty repairs that demand a quick and reliable fix, look no further than Selleys Araldite 5 Minute Epoxy. This two-part adhesive sets in just five minutes.
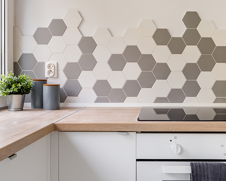
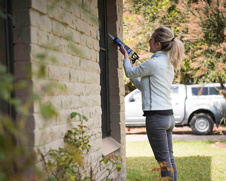
If your looking for a bench seat to add some flair to an unused space in your home, why not upcycle your own?
Kyal and Kara show us how to transform an old timber bench into something spectacular using leftover splashback tiles.
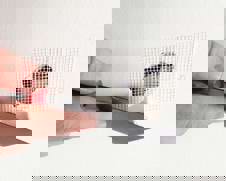
Step 1: Use your pattern tiles and lay them out on your table – have a little play, move them around until your happy with the layout. Remember to use your grout spaces. – once your happy mark around the outside with a pencil

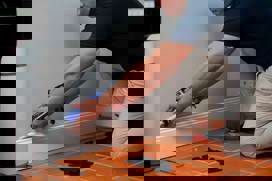
Step 2: To get a nice sharp edge and prevent splinters I’m going to run my circular saw at 15mm deep along these lines before I use the router.

Step 3: Next up we are going to route out the inside section of these marks using the router. Im setting the cutter to 15mm deep which allows for the tiles and the fibro sheet so we end up with a nice flush finish. You’ll need to put on some safety eyes and ears for this part. The trick is here to go nice and slow take your time and let the router do the cutting.

Step 4: Once you have dusted off the rebated section of the table, measure up for the fibro sheet. Using a Stanley knife you can simply score and snap the fibro

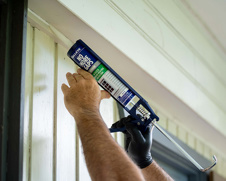
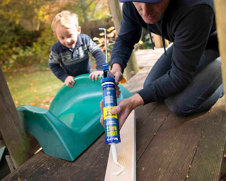
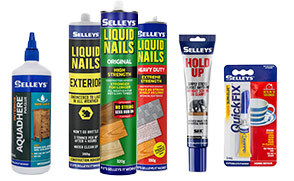
Step 5: Using Selleys Liquid Nails Heavy duty. Cut the cartridge tip screw on the nozel and cut the tip off the nozel. Then using the calking gun – Selleys make this . Apply beads of Liquid Nails Heavy Duty into the rebated area , make sure the beads are spaced 40cm apart. This is the best glue to use for this job as it Super fast drying and has excellent resistance to water and weather.

Step 6: Once you’re all glued up lay the fibro straight down on top of the glue pushing down firmly so we get good
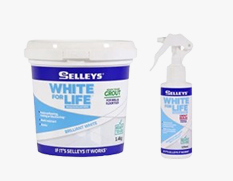
Step 7: Now lets get our Selleys White for Life Tile adhesive ready to go. You can buy this in a pre mixed form ready to use 1.6kg tub. Make sure you have cleaned off any dust from the fibro. Using your notched trowel (I’m using a 6mm) spread the glue onto the fibro and get a nice even coat of glue.

Step 8: Lay tiles onto the Glue and remember to space the tiles apart using your tile spacers. Its also a good idea to have some clean water and sponge to wipe away any excess glue. Then we will leave our tiles to dry for about 24 hours.

Step 9: Once the tiles are dry we can now grout. Stick down some masking tape around the edges of the rebated section to keep grout off the timber which will prevent any staining It’s a pretty easy process all you need to do is mix up your grout to a smooth non slumping paste and wipe into the gaps between tiles using a grouting trowel. Sponge off any excess grout with the clean water and peel off the tape

Step 10: Once the grout is dry (at least 3 days) it’s a good idea to seal the grout to protect it from any food stains. All you need to do is spray on Selleys grout sealer and leave to penetrate for an hour then wipe off any excess with a white cloth. You could do a second coat if needed.
For heavy-duty repairs that demand a quick and reliable fix, look no further than Selleys Araldite 5 Minute Epoxy. This two-part adhesive sets in just five minutes.
Make heavy-duty repairs quick and easy with Selleys Fix and Go Araldite 5 Minute. Get a strong, durable bond in just minutes.
Add some greenery to your outdoor space with a vertical garden from Selleys. Our guide will show you how to install a garden that's perfect for any space.
Create an outdoor oasis with a deck from Selleys. Our guide will show you how to build a custom deck that's perfect for your outdoor space.


Share
Share this article with your friends